Prepare
- Your own domain (How to buy a domain name from Google Domains)
- GCP
- Programming language and Linux basics
Create project and VM
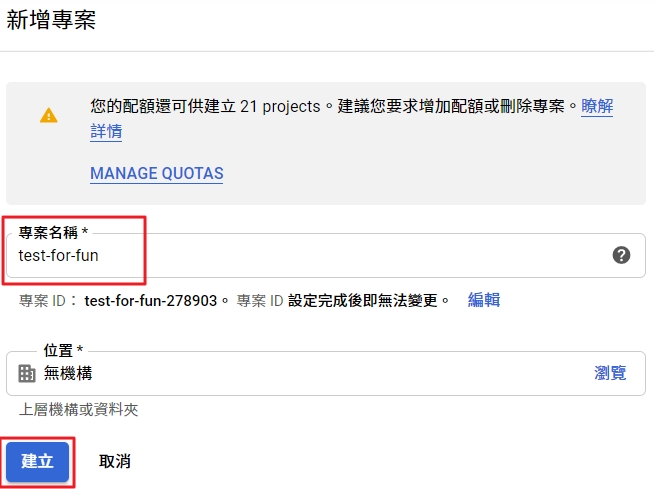
Go to Google Cloud Platform and create new project.
Click NEW PROJECT

Fill in Project name
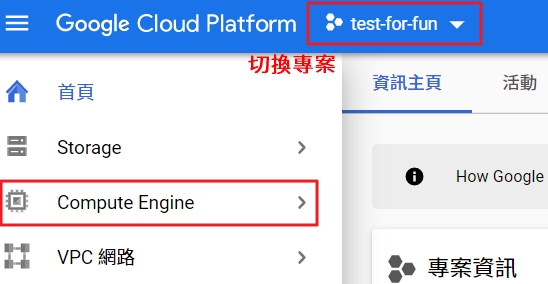
After the creation is complete, switch to the newly added project.
Search and select Compute Engine (You can pin it to the top)
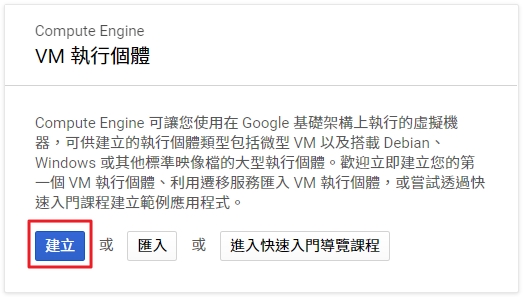
Create
Follow your own needs to set it.
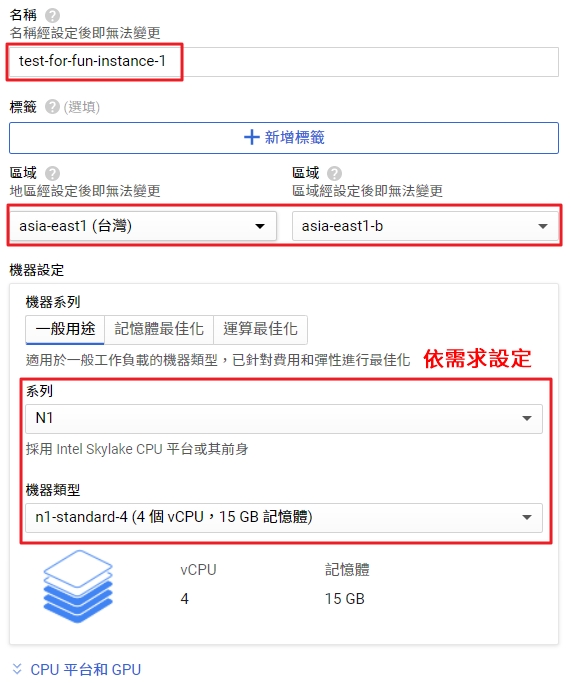
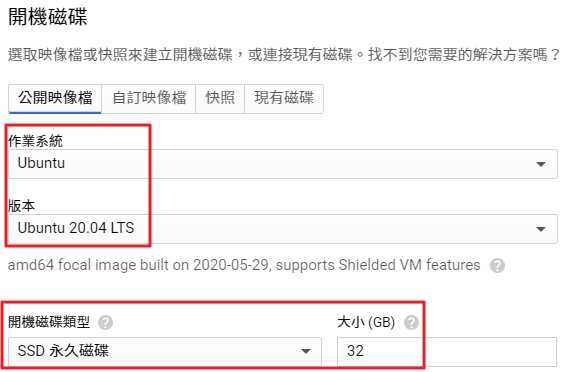
I select Ubuntu 20.04 LTS
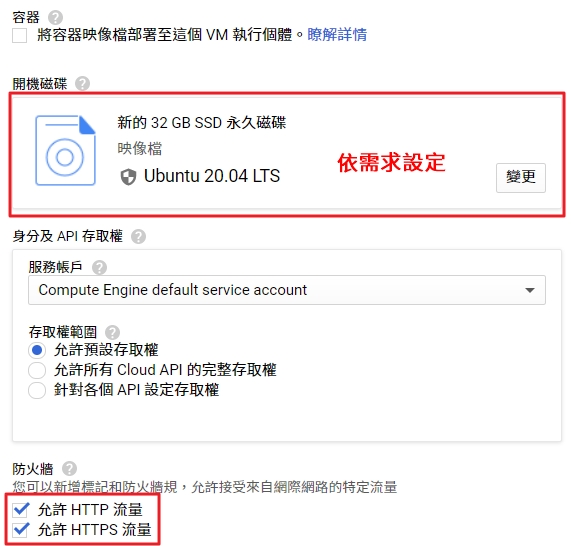
Allow HTTP and HTTPS traffic
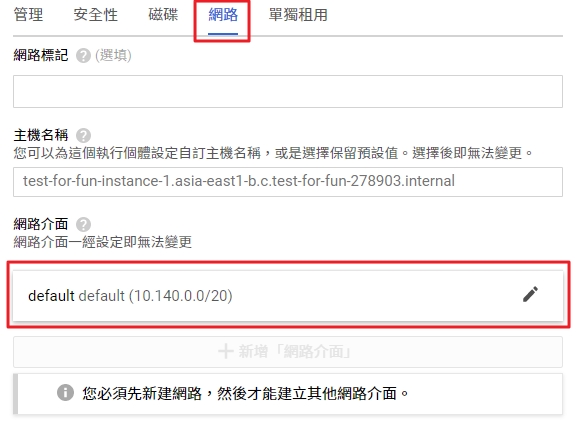
Switch to Networking tab, add a static IP
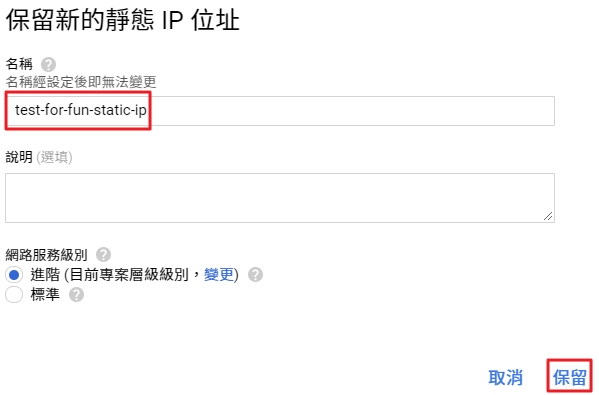
Click External IP, select Create IP address
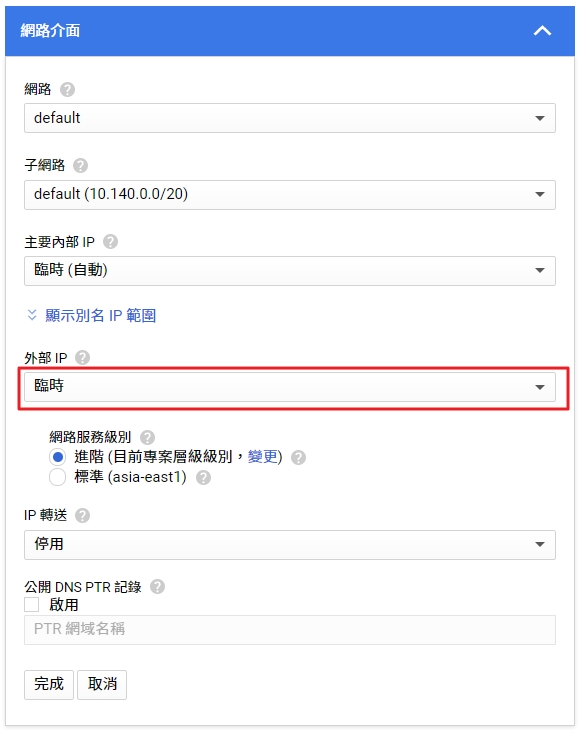
Fill in the name
Create the VM, copy the External IP

Go to your domain name provider and add A type to this IP

Create an APP
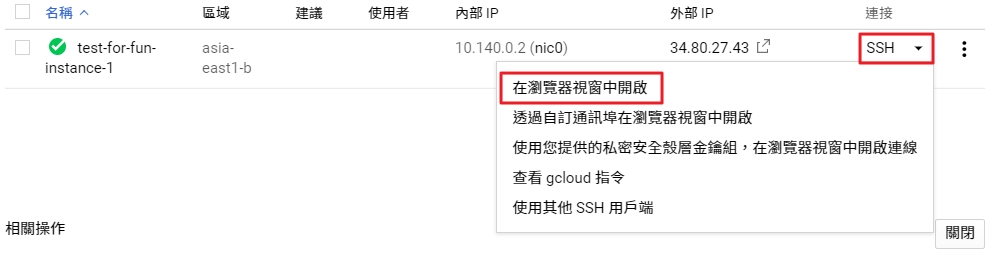
Back to VM, click Connect
Select Open in browser windows
It will open a Terminal.
If the word is too small, click the gear in the upper right corner to adjust.
You can also upload/download files from here.

First, update and upgrade
|
|
This time will use Python (Ubuntu 20.04 LTS preinstalled python 3.8)
Install other packages
|
|
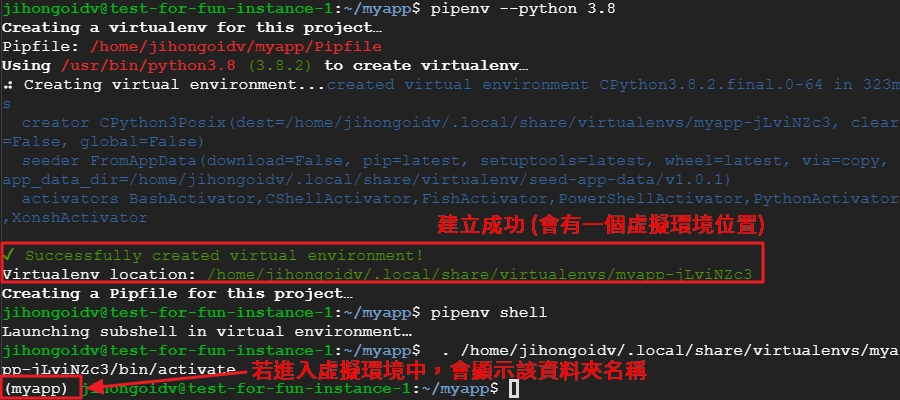
Create a folder and python virtual environment.
|
|
Install Flask, and create a app.py
|
|
Write a simple Flask APP
|
|
Press Ctrl + X, and then Y to save it
Run it
|
|
You will see, Running on http://127.0.0.1:5000/
Now, click the gear to create a new connection
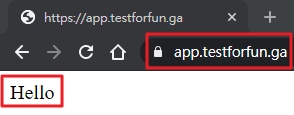
After connected
|
|
It will return Hello if it works.
Nginx
Install Nginx
|
|
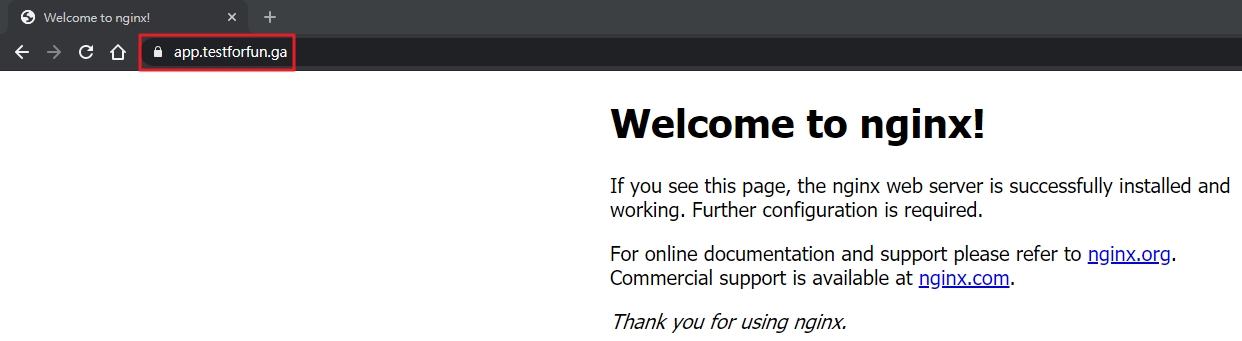
After the installation is complete, and you have added the A type.
Open the browser, input your domain
You can see the Nginx welcome page

Check the configuare file, it’s path /etc/nginx/nginx.conf
|
|
Check configure content
|
|
Nginx files and directories
- /etc/nginx:Nginx mainly directory
- /etc/nginx/nginx.conf:Nginx mainly configure file
- /etc/nginx/sites-available:The configuration of each server will be stored here
- /etc/nginx/sites-enabled:Enabled configuration, A link file will be created from the
sites-availablefolder - /var/log/nginx/access.log:Nginx access log
- /var/log/nginx/error.log:Nginx error log
Cerbot
Cerbot to get Certificate
Go to Cerbot
Select nginx and Ubuntu 20.04

Follow the steps that appear
|
|
Obtain the certificate and automatically configure Nginx.
|
|
Enter in order
- a (Terms)
- n (Send related emails)
YOUR DOMAIN NAME- 2 (redirect http -> https)
Auto-renew
|
|
Certificate will be saved to /etc/letsencrypt/live/YOUR_DOMAIN_NAME
Edit the server configure
|
|
Find your server_name
location / add proxy_pass to localhost:5000, save it
|
|

Reload
|
|
It works
Done