事前準備
- 自己的網域 (如何從 Google Domains 購買網域)
- 自己的靜態網站 (如何使用 Hugo 建立一個靜態網站)
- GitHub 帳戶
- Netlify 帳戶
- Git 基礎
Netlify 簡介
Netlify 是一個熱門的靜態網站 Host 服務,其免費額度非常適合一般使用者
可以自定義 subdomain 也可以使用自己的網域名,同時也提供了免費的 SSL
而且只要將網站上傳到 GitHub Repository,Netlify 就會自動部署,非常方便
準備靜態網站
這裡以 Hugo 建立的網站為例 (如何使用 Hugo 建立一個靜態網站)
在部署之前,在網站根目錄新增一個 netlify.toml
新增內容如下,注意 HUGO_VERSION
|
|
提交所有改動
|
|
到 GitHub 建立一個儲存庫 (可以是私人的)
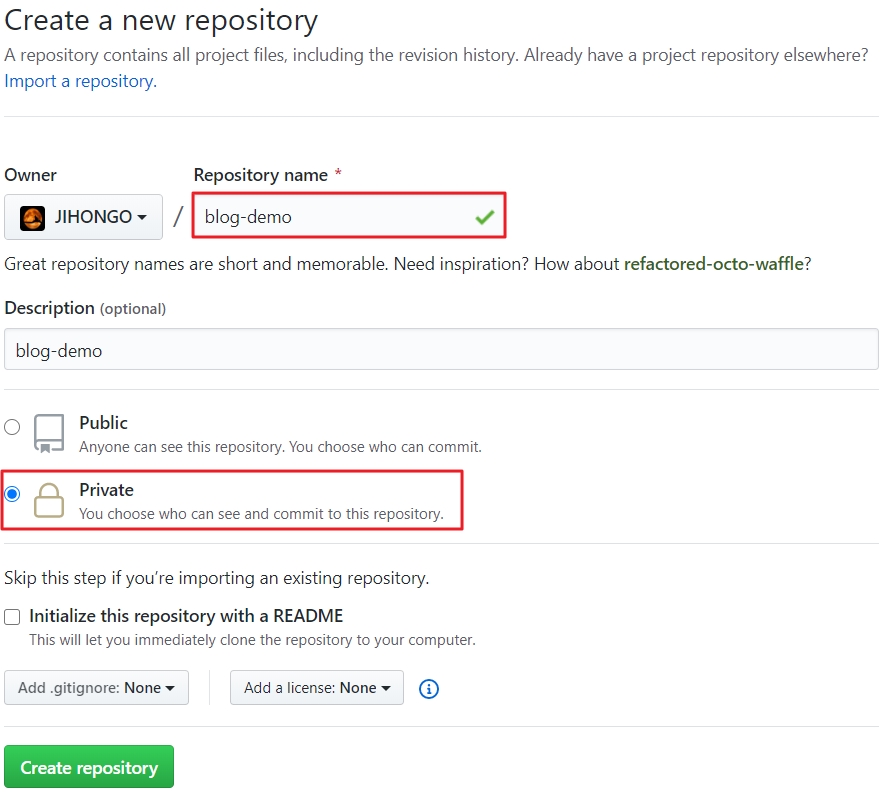
建立完成後,會得到這個儲存庫的連結,複製起來
https://github.com/你的 GitHub 名稱/儲存庫名稱.git
再來將本地的儲存庫推送到 GitHub 上
|
|
若推送成功就可以看到自己的 GitHub 儲存庫上有東西了
部署到 Netlify
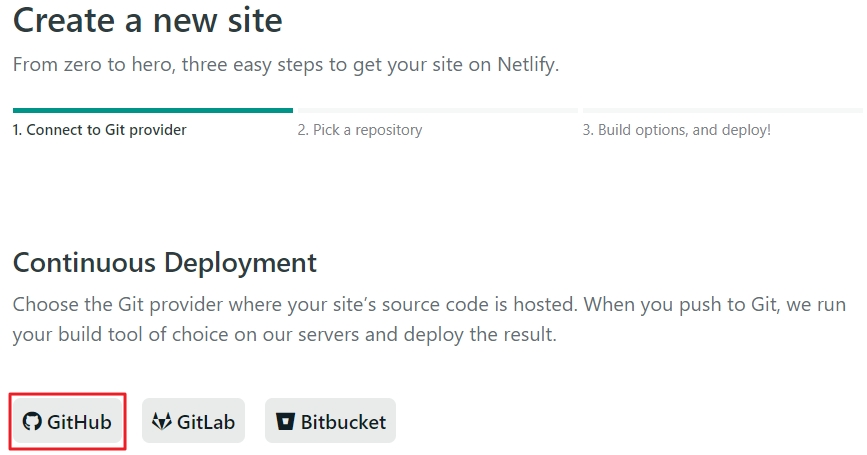
到 Netlify 官網,登入後點選 New site from Git

點選 GitHub
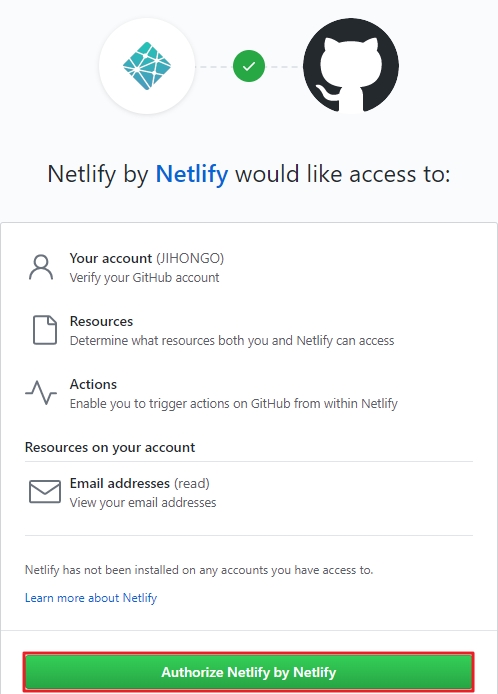
授權 Netlify 存取 GitHub
選擇儲存庫
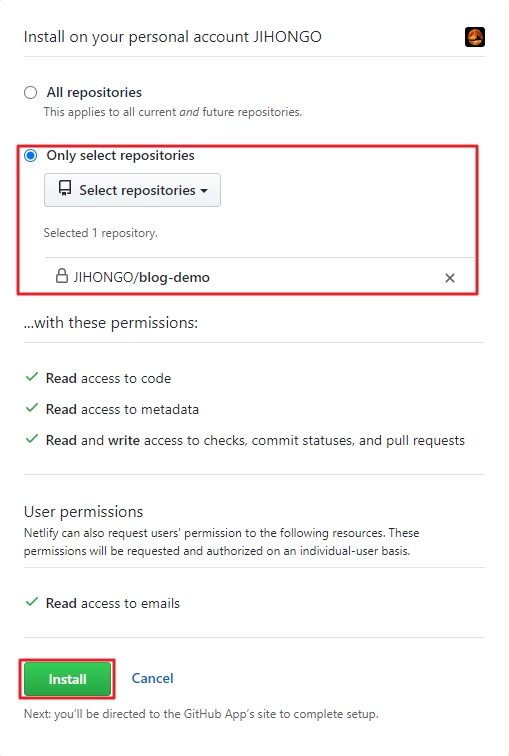
點進去
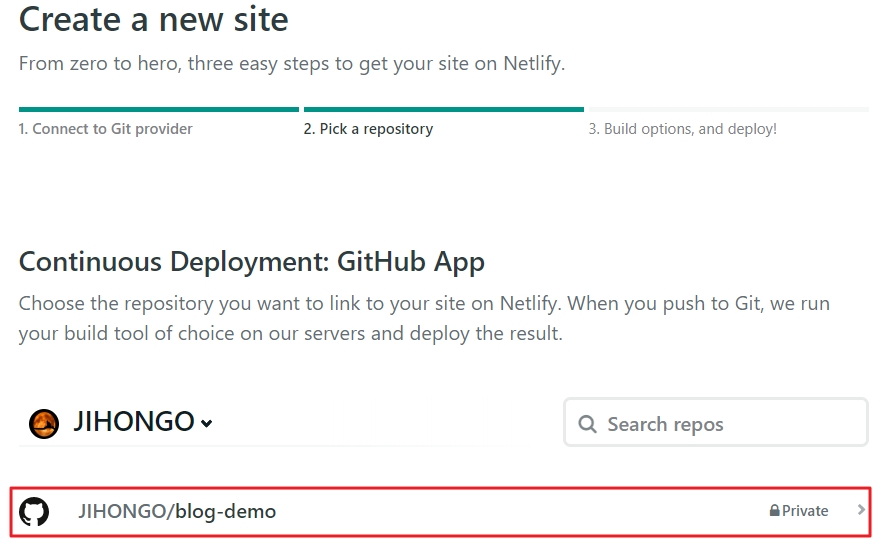
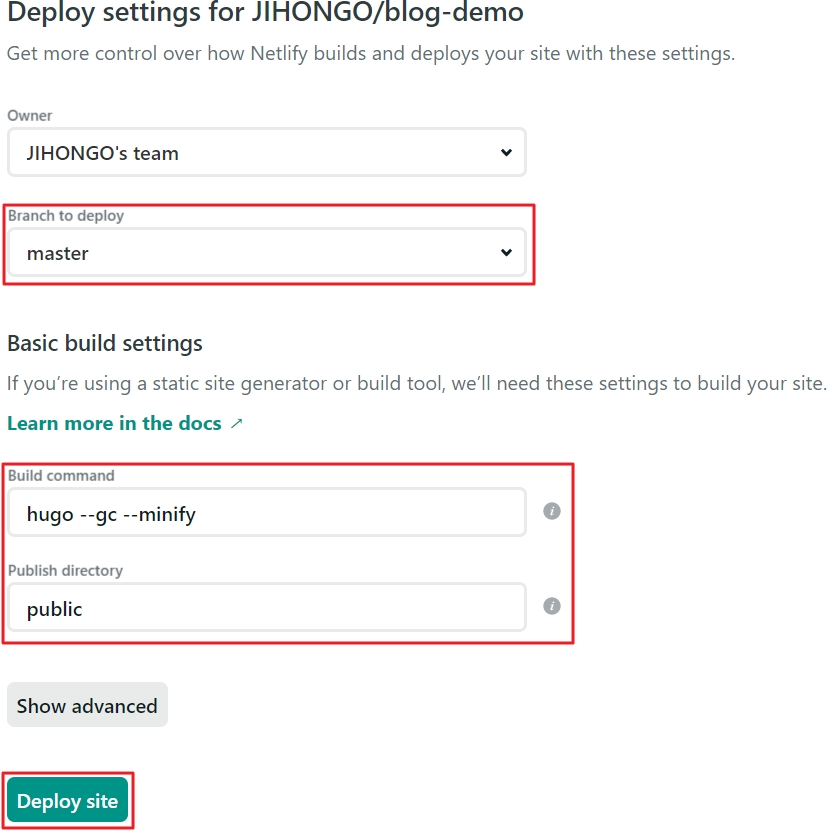
可以看到已經讀取到 netlify.toml 的設定了
預設部署是 master 分支,確認後按下 Deploy site
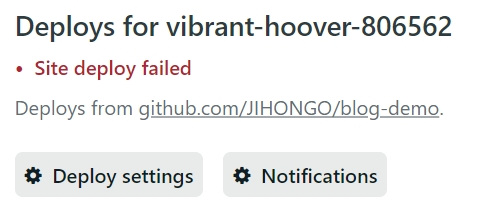
如果沒問題,應該就會 Deploy 成功吧
可惜我失敗了
看了一下 log 發現在 Build 時會去找一個資料夾,但是裡面沒東西
Git 提交會忽略空資料夾,因此我在裡面隨便放個檔案再重新提交一次
重新 Build 之後,但還是失敗
這次是新的錯誤
Error: Error building site: failed to render pages: JSON parse error: unexpected comma character on line 9 and column 20
    9:     "description": ,
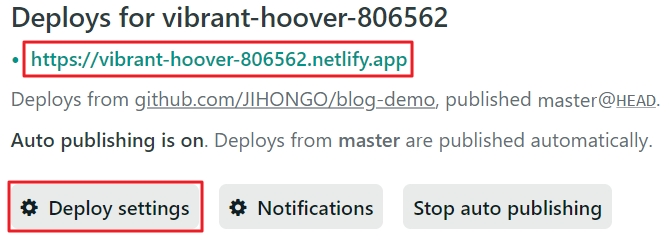
沒有找出原因,因此決定先移除 --minify
就成功部署了,那串網址就是網站了
接著改成自己的網域,點選 Deploy settings
到 Domain management 頁面點選 Add custom domain

輸入網域名
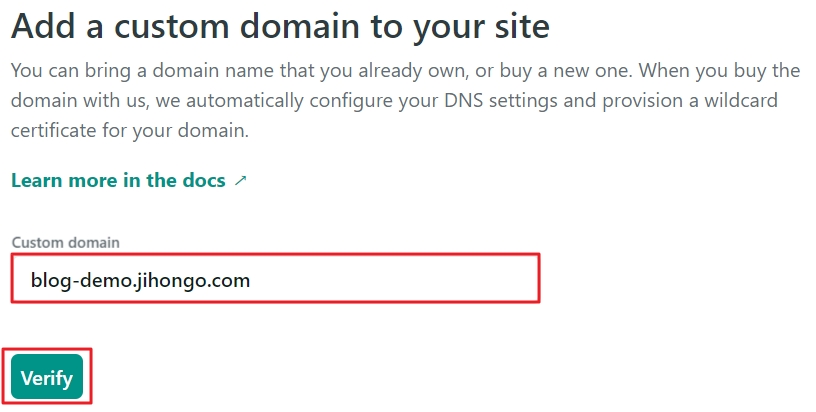
接著點選 Check DNS configuration

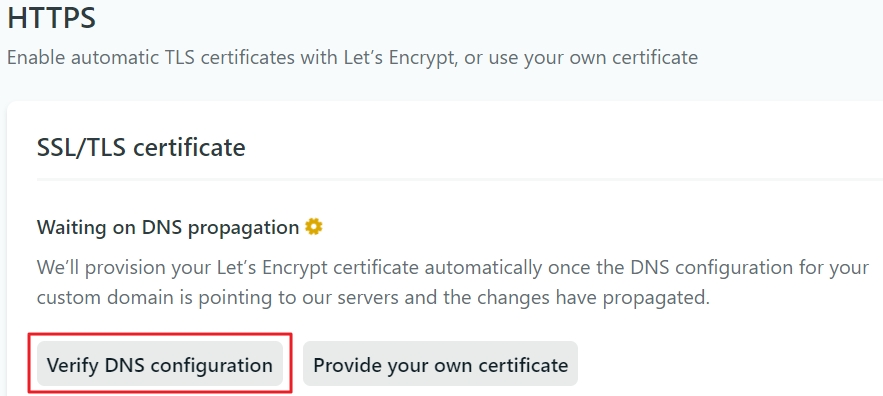
將後面那串複製起來,到自己的域名供應商增加 CNAME
等待其生效

生效後回到 Netlify 下方驗證,成功後就會獲得 Let’s Encrypt 頒發的憑證
也可以使用自己的憑證
沒問題的話就成功囉
之後如果有更新,推送至 GitHub 後 Netlify 就會自動部署啦,真棒
Done